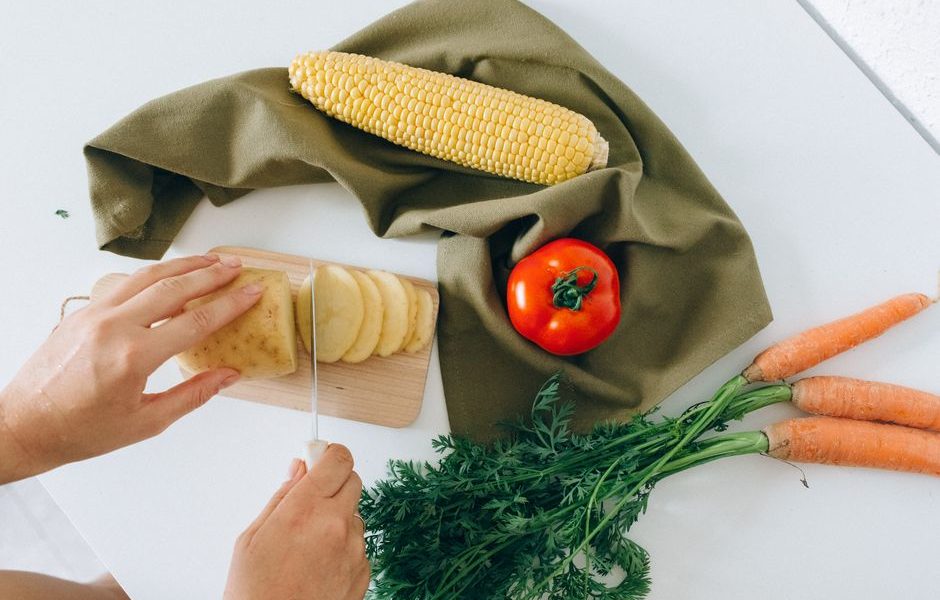
You finish peeling carrots, trimming celery, and cutting the ends from onions. The bowl beside the cutting board looks like waste, but much of it still holds flavor. The useful question is not whether every scrap belongs in a pot. It is which scraps add sweetness and aroma, which ones turn bitter, and how to cool the finished stock safely.
Which Kitchen Scraps Belong in Vegetable Stock?
Save scraps with clean, mild flavor
The best scraps bring sweetness, body, or a familiar savory aroma. Carrot peels, celery leaves, celery ends, onion skins, leek greens, mushroom stems, parsley stems, cilantro stems, corn cobs, and the trimmed ends of fennel all work well. Rinse scraps first if soil or grit is present. You can save them in a sealed freezer bag and add to the bag over several days.
Onion skins deserve special attention. A small amount adds a golden color, while a large amount can make stock look brown and taste slightly harsh. Carrot peels do the same thing: a few handfuls add flavor, but a container filled almost entirely with carrot peel can make the stock sweet and muddy.
A practical starting ratio is two parts mild vegetable scraps to one part water by volume. The scraps do not need to fill the pot. They need enough water to move freely and release flavor.
| Scrap | Use in stock | Typical result |
|---|---|---|
| Carrot peels and ends | Use freely, rinsed | Sweetness and orange-gold color |
| Celery leaves and ends | Use freely | Fresh, savory aroma |
| Onion skins and ends | Use in moderation | Color and mild onion flavor |
| Leek greens | Use after thorough washing | Soft onion flavor |
| Mushroom stems | Use in small amounts | Earthy, savory depth |
| Potato peels | Use only when clean and unblemished | Light body, sometimes cloudy |
| Brassica leaves and stems | Use sparingly | Possible cabbage or sulfur notes |
| Rotten, slimy, or moldy scraps | Leave out | Off flavors and food-safety risk |
Leave strong or damaged scraps out
Skip moldy, slimy, sour-smelling, or visibly spoiled vegetables. Cooking them does not turn spoilage into a good ingredient. Also leave out large amounts of beet trimmings, bell pepper cores, tomato scraps, cabbage, broccoli, cauliflower, kale stems, turnip peels, and bitter greens unless you specifically want those flavors. They can dominate a mild stock quickly.
Garlic skins and herb stems are usable, but keep the amounts modest. Large quantities of rosemary, sage, oregano, or thyme can make the finished liquid taste medicinal. The clear verdict is simple: build the batch around carrot, celery, onion, leek, mushroom, and parsley scraps, then treat stronger vegetables as accents.
Why Does Scrap Stock Taste Good or Turn Bitter?
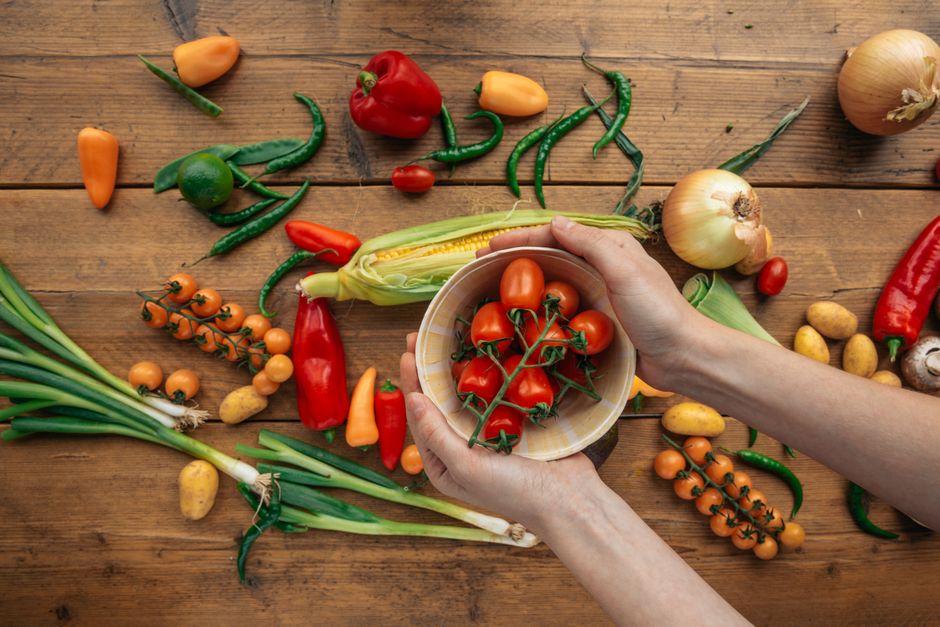
The basic flavor problem
Vegetable stock exists to capture water-soluble flavor from ingredients that may be too small, fibrous, or unattractive to serve on their own. Heat softens plant tissue, water carries flavor compounds into the pot, and time lets those compounds spread through the liquid. The process is useful because it extracts value from trimmings without asking you to buy a separate set of vegetables.
That process has a limit. Longer cooking does not always mean better stock. Mild vegetables release their pleasant flavors fairly quickly. After that point, prolonged heat can pull out harsh notes from onion skins, celery leaves, herb stems, and brassica scraps. A stock pot packed with random trimmings often tastes less balanced than a smaller pot built from a few dependable ingredients.
Balance sweetness, savoriness, and bitterness
A good batch usually has three layers. Carrots and onions provide sweetness. Celery, leeks, and parsley add freshness. Mushrooms, corn cobs, and a small amount of garlic bring savory depth. Salt can wait until you use the stock because the final recipe may already include salted butter, soy sauce, cheese, or broth concentrate.
Do not treat the freezer bag as a record of every vegetable you touched. Label it with a short rule: mild scraps only. If one day produces a large amount of broccoli stem or beet peel, use those pieces in another dish instead of forcing them into the stock.
The strongest flavor rule is to judge the pot by its dominant ingredient. If the liquid smells mainly like cabbage, beet, or rosemary after 30 minutes, strain it early. You cannot remove that flavor later. A short simmer protects a balanced batch better than an extra hour of cooking.
How Long Should Vegetable Scraps Simmer?
Use a low simmer for 45 to 60 minutes
Cover the scraps with cold water, bring the pot to a gentle simmer, then reduce the heat. Small bubbles should rise from the bottom, but the surface should not churn hard. For most kitchen-scrap stock, 45 to 60 minutes is the best range. It extracts flavor without making the liquid muddy or bitter.
Start timing after the water reaches a simmer. Skim foam during the first 10 minutes if you see it, although vegetable stock usually produces much less foam than meat stock. Keep the lid slightly ajar so the liquid does not boil over and so you can monitor the aroma.
Use the smell test and stop early when needed
At 30 minutes, taste a cooled spoonful. If the stock tastes light but clean, continue to 45 minutes. If it already tastes strong, strain it. If you used mostly onion, celery, and carrot scraps, 60 minutes may improve the body. If you used cabbage, beet, pepper, or many herb stems, 30 to 40 minutes may be enough.
| Scrap mix | Starting simmer time | Decision point |
|---|---|---|
| Carrot, onion, celery, parsley | 45 to 60 minutes | Taste at 45 minutes |
| Mushroom-heavy mix | 35 to 50 minutes | Stop when earthy flavor is clear |
| Leek and onion mix | 40 to 60 minutes | Stop before onion becomes harsh |
| Brassica or beet accents | 25 to 40 minutes | Strain as soon as the flavor arrives |
For a clear verdict, choose 45 minutes as the default and adjust down for powerful scraps. A rolling boil rarely improves the result. It breaks vegetables apart, creates more sediment, and can leave the stock cloudy.
How Do You Strain and Cool Stock Safely?
Strain without pressing the vegetables
Place a fine-mesh strainer over a heatproof bowl or second pot. Pour the stock through slowly, then let the solids drain for a few minutes. Pressing the vegetables may seem efficient, but it pushes pulp into the liquid and can make the stock cloudy. If you want a cleaner stock, allow gravity to do the work.
Discard the cooked scraps after straining. They have already given up most of their flavor, and their texture is usually too soft for another useful dish. If a small amount of sediment settles at the bottom, pour the clear liquid into a clean container and leave that final layer behind.
Cool in shallow containers
- Divide the hot stock into shallow containers rather than leaving it in a deep stockpot.
- Leave space at the top because liquid expands when frozen.
- Set the containers in a sink or larger bowl filled with cold water and stir the stock occasionally.
- Move the stock to the refrigerator once it is no longer steaming heavily.
- Refrigerate promptly and use it within three to four days, or freeze it for longer storage.
Rapid cooling matters because a large pot can stay warm in the center for a long time. That creates a poor temperature range for safe storage. In most home kitchens, shallow containers and an ice-water bath are more reliable than waiting for a full pot to cool on the counter.
Once chilled, the stock may form a thin layer of fat or foam on top. Vegetable stock usually has little fat, so this layer is often from mushrooms or cooking oil. Remove it if you want a clearer liquid, or stir it back in for a fuller mouthfeel.
How Should You Freeze Vegetable Stock in Portions?
What portion size works best?
Freeze stock in sizes that match the recipes you make. One-cup portions work for rice, couscous, sauces, and small soups. Two-cup portions suit a pot of lentils, a pan of risotto, or a vegetable braise. Ice cube trays are useful for adding small amounts to a pan, but each cube often holds only 1 to 2 tablespoons, so count the volume before relying on them.
Label every container with the date and amount. Frozen stock can look similar to plain water after several weeks. A label prevents guesswork and helps you use the oldest portion first.
Can stock be frozen in glass?
Glass can work when the container is designed for freezing and has enough headspace. Do not pour boiling stock into a cold glass jar. Let the stock cool first, leave roughly 2.5 centimeters of space at the top for expansion, and avoid narrow shoulders that can trap expanding liquid.
Flexible freezer bags save space when laid flat, but they need a leak-proof tray until frozen. Silicone freezer trays make small portions easy to remove. For larger amounts, stackable plastic containers with straight sides are practical.
Thaw stock overnight in the refrigerator, or place a sealed portion in a saucepan over low heat. Do not thaw a thin freezer bag directly against a hot pan. Once thawed, use the stock promptly. Refreezing is best avoided because repeated temperature changes hurt texture and create more handling risk.
The best portioning verdict is one cup for daily cooking, two cups for soups and grains, and small cubes for pan sauces. A freezer full of unmarked one-liter blocks is less useful than a smaller collection of labeled portions.