The best apple galette for a busy weeknight needs one flat baking sheet, cold butter, firm apples, and a forgiving shape. You do not need a tart pan, special crimping skills, or a perfect circle of dough. The pastry bakes into a crisp base, the apples soften without turning to sauce, and the folded edge hides small mistakes. Plan on about 45 minutes of active work, plus chilling and cooling time.
Why an Apple Galette Beats Pie on a Weeknight
My clear verdict: choose a galette when you want the flavor of apple pie but cannot spare the time or attention that a deep pie requires. A pie needs a fitted bottom crust, a carefully sealed top, and enough structure to hold a tall filling. A galette spreads the same ingredients across a shallow center, so steam escapes and the pastry cooks faster.
The pastry problem a galette solves
Traditional pie dough becomes stressful when you have to roll a precise circle, lower it into a dish, press it into the corners, and repair cracks before adding fruit. A galette removes those pressure points. Roll the dough into a rough 12-inch round, leave the center open, and fold the outer two or three inches over the apples. The uneven rim becomes part of the design.
That loose shape also gives the crust room to expand. The dough does not need to climb a vertical wall, so the butter can create layers without pushing the pastry out of a narrow pan. Keep the dough cold, though. Warm butter smears into the flour and produces a dense crust instead of distinct flaky layers.
Why shallow fruit cooks more reliably
Apples release water as their cells soften. A deep pie traps much of that moisture under a top crust. A galette leaves more surface area exposed, which lets steam escape around the fruit. The result still tastes juicy, but the bottom crust has a better chance of staying crisp.
Use three medium apples, about 450 to 500 grams after coring. Slice them 2 to 3 millimeters thick and keep the slices close together in the center. Thin slices soften before the crust overbrowns, while thicker wedges may stay hard near the middle. A light layer of cornstarch catches the juice that remains.
The shape that gives you room for error
Leave a 2-inch border around the fruit. That border should fold over the apples but never cover the entire center. If a crack opens, pinch it closed. If the dough looks lopsided, keep going. The only measurements that truly matter are the dough thickness, the fruit height, and the exposed rim.
For a busy kitchen, this matters more than decoration. The galette works because it treats rustic appearance as a practical feature, not a consolation prize.
A 45-Minute Apple Galette Schedule
My clear verdict: organize the work around chilling and oven heat. The active cooking time can stay near 45 minutes, but a crisp crust still needs about 20 minutes of chilling and at least 15 minutes of cooling before slicing.
| Time | Task | Target |
|---|---|---|
| 0–8 minutes | Mix the dough | Flour, sugar, salt, cold butter, and 3 to 4 tablespoons ice water form a shaggy ball. |
| 8–28 minutes | Chill and heat the oven | Wrap the dough and refrigerate it while the oven reaches 400°F. |
| 10–18 minutes | Slice the apples | Prepare 450–500 grams of thin slices with lemon, sugar, cinnamon, salt, and cornstarch. |
| 28–35 minutes | Roll and fill | Roll to 12 inches, add the apples, and fold a 2-inch border inward. |
| 35–75 minutes | Bake | Bake 35–40 minutes, until the crust is deeply golden and the juices bubble. |
| 75–90 minutes | Cool | Rest on the baking sheet for at least 15 minutes before cutting. |
The 10-minute dough
Whisk 1 1/4 cups all-purpose flour with 1 tablespoon sugar and 1/2 teaspoon fine salt. Cut in 8 tablespoons of cold unsalted butter until the largest pieces look like small almonds. Add ice water one tablespoon at a time. Stop when the dough holds together when squeezed. Do not knead it into a smooth ball; a few visible butter streaks help create flakes.
- Press the dough into a disk about 1 inch thick.
- Wrap it and chill for 20 minutes.
- Roll it on lightly floured parchment so you can move the galette without lifting the soft dough.
The 35-minute bake
Spread the apples in a single, slightly overlapping layer. Keep the filling at least 2 inches from the edge. Brush the exposed dough with milk or beaten egg, then sprinkle it with coarse sugar if you want extra crunch. Bake at 400°F on the lower-middle rack. The crust should show an even brown color from the center to the folded edge, and the juices should bubble for several minutes before you remove it.
Do not judge doneness by the apples alone. Soft fruit can sit on underbaked pastry. Lift one edge with a thin spatula; the base should feel firm and look browned, not pale or damp.
Why Galettes Fail: Six Mistakes That Make Apples Watery
My clear verdict: soggy galettes usually fail before they reach the oven. The main causes are excess filling, warm dough, thick apple slices, and a pale bake. Fix those four points and the recipe becomes far more dependable.
Crust failures to catch early
- Warm butter: If the butter feels soft while you mix, stop and chill the bowl for 10 minutes. Cold butter must stay in visible pieces so it can create steam and flaky layers.
- Too much water: Add only enough water for the dough to hold together. Wet dough becomes stretchy, sticky, and breadlike after baking.
- Overworked dough: Press the dough into a disk and roll it once. Repeated rerolling develops gluten and makes the crust tough.
- A thin center: Roll the center to about 1/8 inch thick. If you can see the parchment clearly through the dough, the base may tear or soak through.
Filling failures to prevent
- Too much fruit: Keep the apple mound low. A pile more than 1 1/2 inches high traps juice and leaves the center soft.
- No starch: Toss the sliced apples with 1 tablespoon cornstarch. Flour can work, but cornstarch gives a cleaner set with less chalky taste.
- Large apple wedges: Thick slices stay firm while the pastry browns. Use thin slices or cut thick pieces in half.
- Wet fruit: After adding lemon juice, sugar, and salt, let the apples sit for no more than five minutes before arranging them. A longer wait pulls out more liquid.
- Underbaking: Color matters. Bake until the rim is deep golden and the filling bubbles, even if the apples already look soft.
- Cutting too soon: Give the galette 15 to 20 minutes to cool. The juices thicken as they settle, which protects the bottom crust and keeps slices from sliding apart.
A cracked edge does not count as failure. A pale, flexible base does. If the top browns before the bottom sets, move the galette to a lower rack for the final 8 minutes and reduce the oven to 375°F.
Which Apples Make the Best Weeknight Galette?
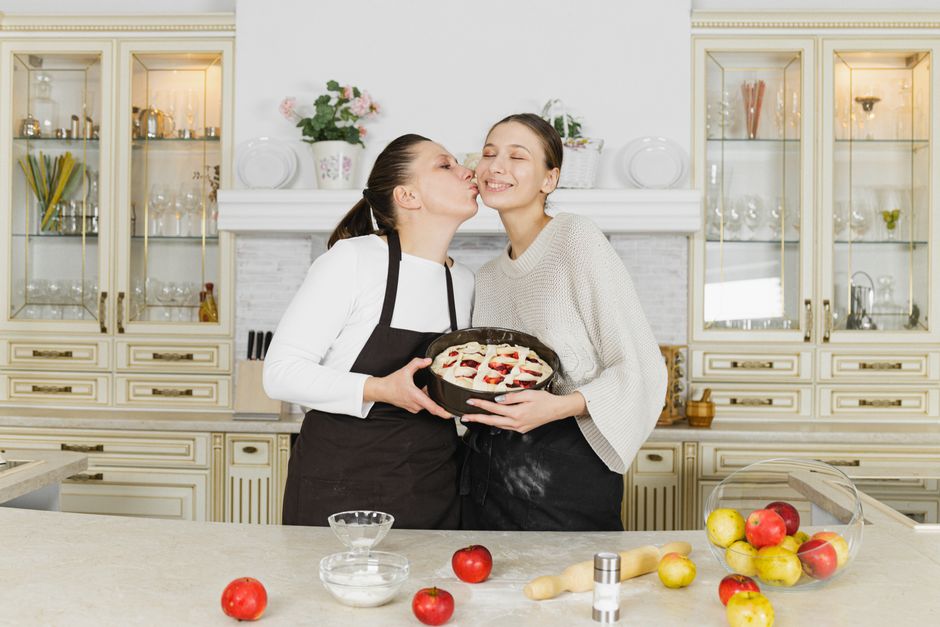
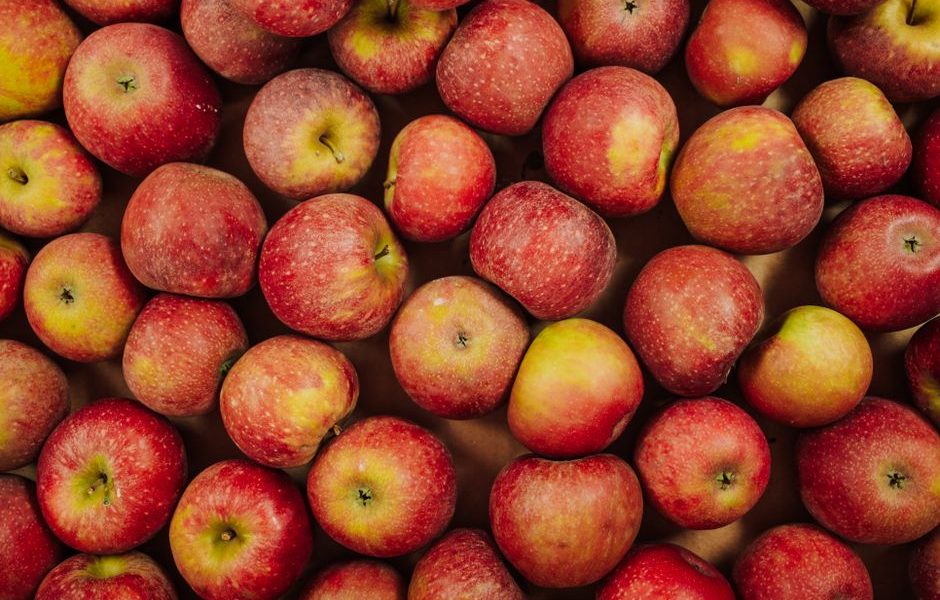
Use two apple varieties instead of one. My favorite combination is two firm Honeycrisp apples with one Granny Smith. Honeycrisp brings floral sweetness and stays recognizable after baking; Granny Smith adds sharpness and enough firmness to keep the filling from collapsing. This blend tastes balanced without needing a heavy layer of sugar.
The best apple combinations
Honeycrisp alone makes a sweet, clean galette, but its high water content can create extra juice. Granny Smith alone gives a sharper, more traditional pie flavor, yet the filling may taste flat without extra brown sugar. Pink Lady apples hold their shape and bring a mild honeyed flavor. Braeburn apples soften more quickly and work well when you want a tender filling with visible slices.
| Apple | Flavor | Texture after baking | Best use |
|---|---|---|---|
| Honeycrisp | Sweet, floral | Firm-tender | Pair with a tart apple |
| Granny Smith | Sharp, bright | Firm | Balance sweet fillings |
| Pink Lady | Mild, honeyed | Firm-tender | Use in a simple galette |
| Braeburn | Spiced, rich | Soft-tender | Choose for a softer filling |
When to skip the usual apple choices
Skip very soft apples such as McIntosh when you want neat slices. They break down quickly and can turn the center into applesauce before the crust finishes. Skip pre-sliced bagged apples if they look dry or browned; they often need extra time to soften and can give the filling an uneven texture.
Reduce the sugar to 1 tablespoon when using very sweet apples. Add a second tablespoon only after tasting the raw fruit. Cinnamon is useful, but a small pinch of cardamom, ground ginger, or black pepper can bring more depth without making the dessert taste like a spice blend.
Serve the galette warm after its short rest, or cool it fully and reheat individual slices at 350°F for 8 minutes. The single most important takeaway is simple: keep the dough cold, keep the apple layer low, and bake the free-form crust until its base is deeply golden.