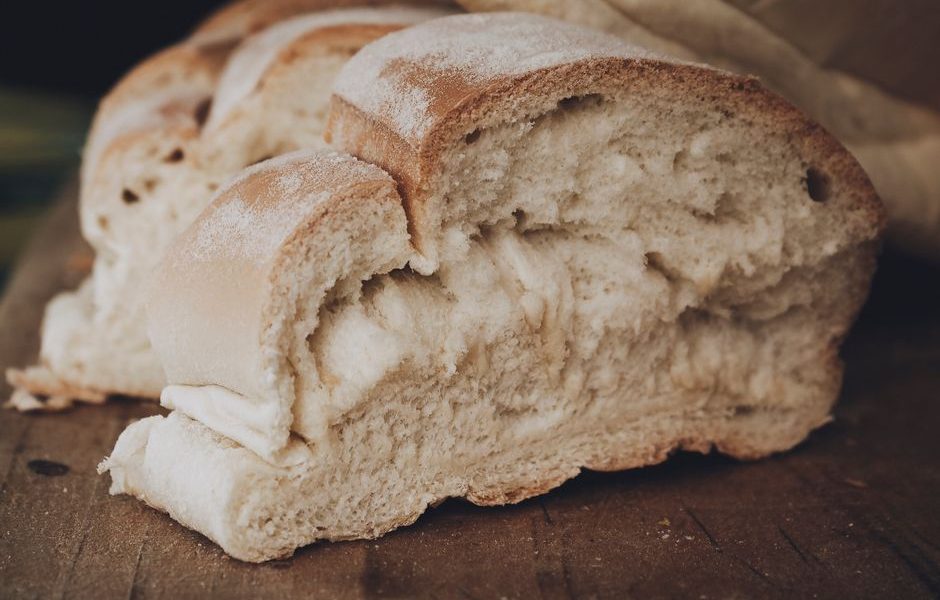
Fresh yeast bread does not need sourdough starter, special flour, or a professional oven. The common mistake is judging the dough by the clock. Yeast works faster in a warm kitchen and slower in a cool one, so the dough itself must tell you when it is ready.
For a first loaf, use a simple dough with flour, water, yeast, and salt. Learn to read its texture, rise, and spring in the oven. That skill matters more than buying extra equipment.
Why simple yeast bread rises
The best beginner yeast bread uses a lean dough: flour, water, yeast, and salt, with little or no fat or sugar. This formula gives you a clear view of what yeast and gluten are doing. It also produces a loaf with a crisp crust and a chewy, open crumb.
Yeast creates gas, but gluten holds it
Yeast feeds on sugars released from the flour and produces carbon dioxide. That gas forms bubbles inside the dough. Gluten, the stretchy protein network created when flour meets water and gets mixed, traps those bubbles. As the dough warms in the oven, the gas expands and the loaf rises quickly. The crust then sets around the expanded crumb.
If the dough has weak gluten, gas escapes and the loaf stays flat. If the dough contains too much flour, it becomes stiff and cannot stretch well. If the yeast has lost its strength, the dough produces too little gas. These three problems explain most dense beginner loaves.
What a good dough feels like
A mixed dough should feel soft and slightly tacky, not dry and crumbly. It may stick to your fingers at first. After several minutes of kneading, it should become smoother and hold together when lifted. A little stickiness is useful because extra flour makes the finished loaf heavy.
Room temperature also matters. Around 75 to 78°F, or 24 to 26°C, most basic doughs rise at a steady pace. At 65°F, the same dough may need much longer. Use time as a guide, but use volume and texture as the decision.
A reliable dough formula for one loaf
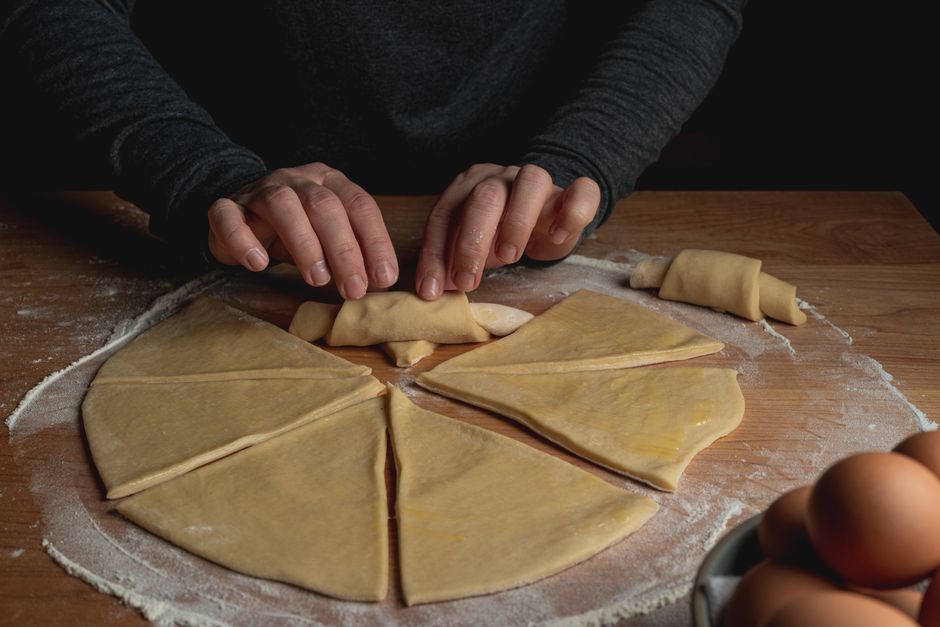
Use a 500-gram flour formula for your first loaf. It makes one medium boule or a loaf that fits a standard 9-by-5-inch pan. Weigh the ingredients if possible. Volume measurements vary because a cup of flour can differ by more than 20 grams depending on how it is filled.
Ingredient amounts and baker’s percentages
| Ingredient | Weight | Purpose |
|---|---|---|
| All-purpose or bread flour | 500 g | Structure and starch |
| Water | 325 g | 65% hydration; soft but manageable dough |
| Instant yeast | 7 g | Reliable rise for one standard loaf |
| Fine salt | 10 g | Flavor and slower yeast activity |
This formula uses 65% hydration, meaning the water weighs 65% of the flour weight. It is wet enough to avoid a dry crumb but firm enough for a new baker to shape. Bread flour may give you a slightly chewier loaf, while all-purpose flour makes a softer, more tender crumb.
Basic timing guide
| Stage | Typical time at 75°F | What to look for |
|---|---|---|
| Mix and knead | 8 to 10 minutes | Smooth, elastic dough |
| First rise | 60 to 90 minutes | About 75% larger, aerated surface |
| Shape and rest | 30 to 45 minutes | Dough becomes puffy |
| Bake | 35 to 45 minutes | Deep brown crust, 200 to 210°F center |
These times are targets, not rules. A cool kitchen can add 30 to 60 minutes. A warm kitchen can cut the first rise almost in half.
How to mix and knead the dough
My recommendation is simple: mix until no dry flour remains, rest the dough briefly, then knead only until it becomes elastic. Beginners often add flour too soon because the dough feels sticky. That choice produces a dry loaf before baking even starts.
Follow these mixing steps
- Place 500 grams of flour, 7 grams of instant yeast, and 10 grams of salt in a bowl. Keep the salt and yeast separated at first if you are using active dry yeast, then stir everything together.
- Add 325 grams of lukewarm water. Aim for water that feels neutral or barely warm, around 95 to 105°F. Hot water can weaken or kill yeast.
- Stir with a sturdy spoon until the mixture forms a rough, shaggy mass. Scrape the dry flour from the bottom of the bowl.
- Cover the bowl and let the dough rest for 10 minutes. This short pause gives the flour time to absorb water and makes kneading easier.
- Knead on a clean, unfloured counter for 6 to 8 minutes. Push the dough forward with the heel of your hand, fold it back, turn it, and repeat.
- Stop when the dough looks smoother and springs back slowly after a gentle press. It may still feel slightly tacky.
Use tools that solve real problems
A digital scale gives the biggest improvement for a beginner. The Escali Primo 115C, for example, measures up to 11 pounds or 5 kilograms and reads in 1-gram increments. A bowl, spoon, and your hands still do the actual work.
For the yeast, SAF Instant Yeast is a practical choice because it can go directly into the flour. King Arthur Baking Unbleached All-Purpose Flour also works well for this formula, but the method does not depend on that brand. You can make the loaf with supermarket flour and still get excellent results.
How to tell when the first rise is ready

The correct first-rise test is not a timer. Look for dough that has grown about 75 percent, shows bubbles along the sides, and feels lighter when you lift an edge. A full doubling can work, but waiting for a complete double often pushes the dough too far, especially in a warm kitchen.
What a good rise looks like
A ready dough has a rounded top or gently domed surface. Small bubbles appear under the skin. When you shake the bowl, the dough jiggles slightly instead of sitting like a dense lump. Press one wet or floured finger into the dough. The dent should fill back slowly and remain partly visible.
Underproofed or overproofed?
If the dough springs back immediately and feels tight, it needs more time. If the dent stays deep, the dough feels fragile, and the surface has begun to wrinkle, it has gone too far. Bake it promptly, but expect less oven spring. For the next loaf, shorten the rise or reduce the yeast slightly. The best beginner verdict is clear: stop the first rise when the dough looks aerated and has grown by roughly three-quarters, not when a clock says it must be done.
How to shape and bake a simple loaf
For the most forgiving bake, use a covered Dutch oven at 450°F. The lid traps steam during the first part of baking. Steam keeps the crust flexible while the loaf expands, which gives you better height and a thinner, crisper crust.
Shape the dough without squeezing out every bubble
Turn the risen dough onto a lightly floured counter. Press it into a rough rectangle, but do not punch it flat. Fold the top third toward the center, fold the bottom third over it, then roll the dough into a log or tighten it into a round. Pinch the seam closed.
Place the shaped dough seam-side down on parchment or seam-side up in a floured bowl. Cover and let it rest for 30 to 45 minutes. It should look puffy but still hold its shape. A final rise that goes too long leaves the dough weak and makes scoring difficult.
Bake by temperature, not crust color alone
Heat a 5-quart Lodge Cast Iron Dutch Oven inside a 450°F oven for at least 30 minutes. Transfer the dough on parchment, score the top with one deep slash, cover, and bake for 25 minutes. Remove the lid and bake for another 12 to 20 minutes until the crust is dark golden brown.
Check the center with a thermometer if you are unsure. The ThermoWorks Thermapen ONE gives a fast reading; the loaf should reach about 200 to 210°F in the center. Cool it for at least 60 minutes before slicing. Cutting earlier releases steam and can make a properly baked loaf seem gummy.