You pull the dinner rolls from the oven and find pale tops, tight crumbs, or a crust that hardens before dinner. The recipe may not be the problem. In most cases, the result comes from dough temperature, proofing time, or the way moisture leaves the oven. The most reliable method is simple: keep the dough warm but not hot, judge the final proof by touch, and add enough moisture during the first minutes of baking. This is not legal advice — consult a licensed attorney.
Why dinner rolls turn dense instead of soft
Yeast needs time, warmth, and usable sugar
Soft rolls begin with gas trapped inside the dough. Yeast consumes available sugars and releases carbon dioxide. Gluten holds that gas in small pockets, creating a light crumb. If the dough stays cold, fermentation slows. If the dough gets too hot, the yeast can weaken before the structure develops. Aim for a finished dough temperature of about 24 to 27°C, or 75 to 81°F, after kneading.
Flour absorbs water gradually, so a dough that looks dry after two minutes may become smoother after five more minutes of mixing. Add flour in small amounts. A stiff dough makes compact rolls, while a wet dough spreads and loses height. The correct dough should feel soft and slightly tacky, but it should not coat your fingers with a thick paste.
Gluten development controls the crumb
Knead enriched dough until it can stretch into a thin sheet without tearing immediately. By hand, this often takes 8 to 12 minutes. In a stand mixer, use low speed for 2 minutes, then medium-low speed for 5 to 7 minutes. Butter can slow gluten formation when added too early, so mix the flour, liquid, yeast, sugar, and salt until a rough dough forms before working in softened butter.
A dense roll usually needs more fermentation or better gluten development, not extra yeast. Adding more yeast can make the dough rise quickly while leaving a weak structure and yeasty flavor. For soft dinner rolls, patient timing produces a more even crumb than a larger yeast dose.
How to time the first rise and final proof
Use dough temperature as the first checkpoint
- Mix and knead until the dough feels elastic and smooth.
- Place it in a lightly oiled bowl and cover it tightly.
- Let it rise at about 24 to 27°C for 60 to 90 minutes.
- Stop the first rise when the dough has expanded by about 75 to 100 percent, rather than waiting for a fixed clock time.
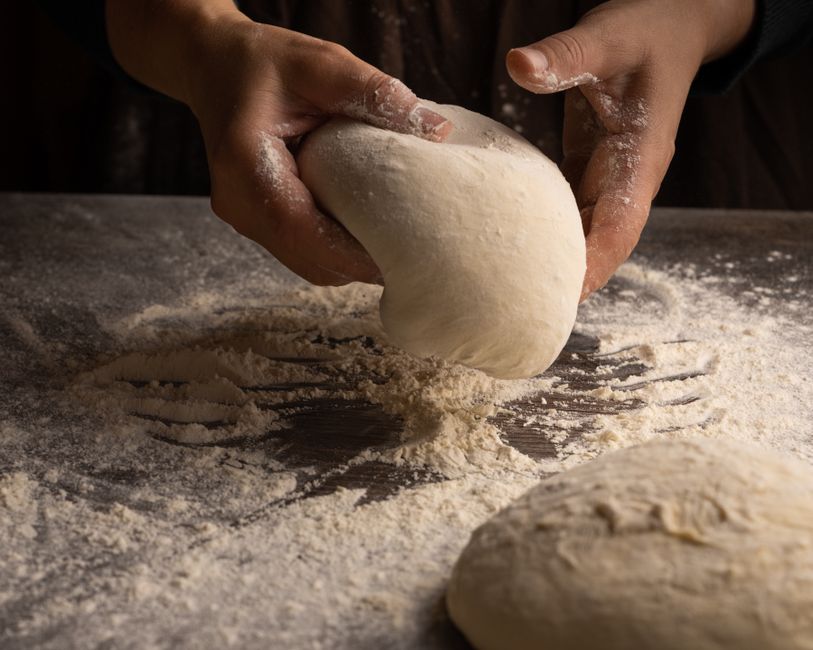
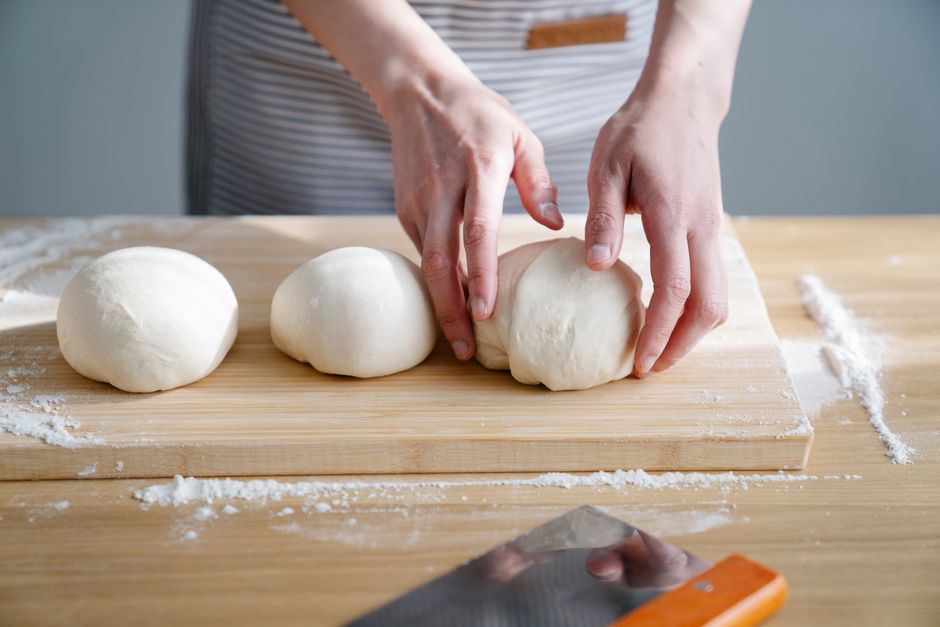
- Divide the dough into equal portions, usually 55 to 75 grams each for standard dinner rolls.
A cool kitchen may extend the first rise to two hours. A warm kitchen may shorten it to 45 minutes. The volume of the dough gives better evidence than the recipe timer.
Read the final proof by touch
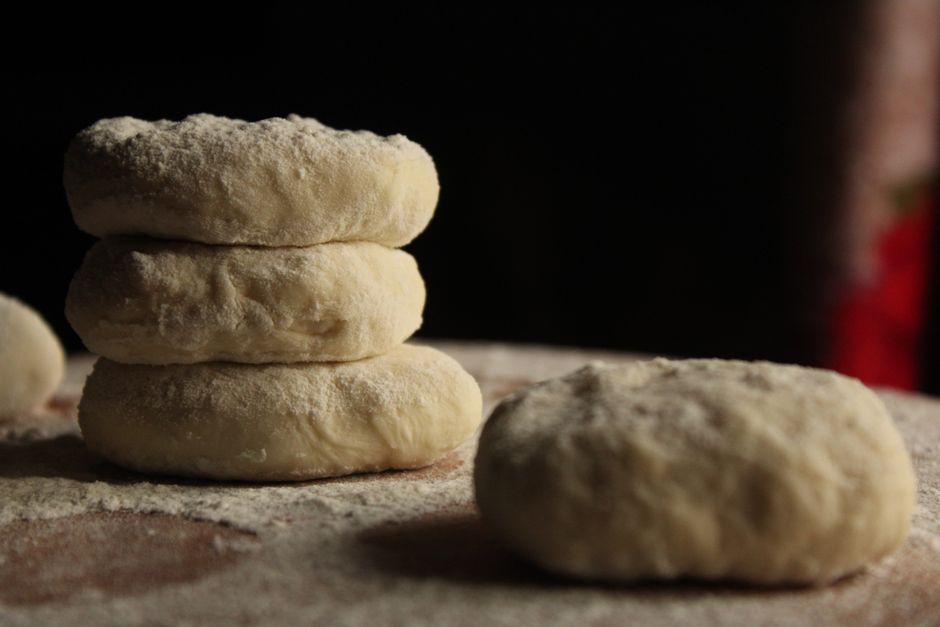
After shaping, cover the rolls and proof them for roughly 35 to 60 minutes. Press one roll gently with a floured fingertip. If the dent springs back at once, the dough needs more time. If the dent remains and the roll feels fragile, it has likely gone too far. The ideal dough springs back slowly and keeps a shallow mark.
Under-proofed rolls split at the sides and have a tight center. Over-proofed rolls may look impressive before baking but collapse or bake flat. For the best texture, bake soon after the final proof reaches the slow-spring stage. This timing rule matters more than copying a rise time from a different kitchen.
What oven steam does to the crust
A timing chart for moisture and heat
| Baking stage | Temperature | What to do | Expected result |
|---|---|---|---|
| Preheat | 190°C / 375°F | Heat the oven for at least 20 minutes | Stable heat supports oven spring |
| First 8 minutes | 190°C / 375°F | Keep the door closed | Moisture delays crust setting |
| Final 10 to 14 minutes | 190°C / 375°F | Check color through the glass | Crust develops without drying the crumb |
| After baking | Room temperature | Brush with butter and cool 10 minutes | Surface stays tender |
Steam should be controlled, not excessive
Steam keeps the outer surface flexible while the rolls expand. In a home oven, the dough itself provides much of that moisture. A metal pan placed on the lower rack can add a small amount of boiling water during the first few minutes, but this step is optional for enriched rolls. Too much water can leave the surface damp and delay browning.
Do not spray water directly onto an oven light, glass door, or hot heating element. A covered pan also traps moisture effectively. For pull-apart rolls, cover the pan loosely with foil for the first 10 minutes, then remove it so the tops can color. The best method is a covered pan when the rolls are pale and dry, and an uncovered pan when they already retain plenty of moisture.
How to get a deep golden crust without dry rolls
Choose the right surface finish
My recommendation is an egg wash for the darkest, most even crust. Beat one egg with 1 teaspoon of water and brush a thin layer over the proofed dough. This produces a glossy brown surface. For a softer, lighter finish, brush the rolls with milk. For a matte golden top, use melted butter before baking and again after baking.
The finish changes color, not the internal structure. A roll can look brown while remaining underbaked, or stay pale while the center is already cooked. Judge doneness by texture and temperature, not color alone.
Use internal temperature as the final check
Most enriched dinner rolls are done when the center reaches about 88 to 93°C, or 190 to 200°F. Insert an instant-read thermometer into the side of one roll so the probe reaches the middle. If the tops brown too quickly before the center reaches that range, place foil loosely over the pan and continue baking.
If the rolls reach the target temperature but feel dry, the usual cause is excess flour, overbaking, or a long uncovered hold after baking. Brush the hot rolls with butter and cover them with a clean towel for 10 minutes. That short rest softens the crust while the crumb finishes setting.
Common dinner-roll failures and their fixes
Why did the rolls spread?
Spread usually points to weak shaping, over-proofing, or dough that contains too much liquid for the flour. Shape each portion into a tight ball by pulling the surface toward the base and pinching the seam closed. Place the seam underneath. If the dough feels loose after shaping, chill the pan for 10 minutes, then continue the final proof.
Why are the tops pale or the bottoms hard?
- Pale tops: The oven may run cool, the rolls may lack a surface wash, or the pan may sit too low. Move the pan to the center rack and verify the oven with a thermometer.
- Hard bottoms: A dark metal pan can transfer heat quickly. Use a light-colored pan, place it on a second baking sheet, or reduce the temperature by 10°C.
- Tight centers: The dough was under-proofed, too cold, or overloaded with flour. Give the next batch more rise time and hold back some flour during mixing.
- Wrinkled tops: The rolls may have over-proofed or cooled too quickly. Bake closer to the slow-spring stage and avoid moving the pan during the first 10 minutes.
The clearest fix is to change one variable at a time. Changing yeast, flour, pan, temperature, and proofing time together makes the cause impossible to identify.
When to change the method
Should you use an overnight rise?
An overnight refrigerator rise is the best choice when dinner timing is unpredictable. Shape the rolls, cover the pan, and refrigerate it for 8 to 16 hours. Let the dough sit at room temperature for 45 to 75 minutes before baking. This method deepens flavor and reduces last-minute work, but cold dough may need more time than the clock suggests.
Should you use a covered pan or a dry oven?
Use a covered pan when your rolls bake pale, dry, or crusty. Use an uncovered pan when your rolls already have a moist, soft surface and need more color. For the most dependable result, proof the dough until it slowly springs back, bake at 190°C / 375°F, protect the surface during the first 8 to 10 minutes if needed, and finish until the center reaches 88 to 93°C.
For consistently soft dinner rolls, the strongest choice is a moderately hydrated dough, a complete first rise, a slow-spring final proof, and a light egg wash. That combination gives the best balance of height, tender crumb, steam, and crust color.